
DobroDesk Help Center
Route website widget conversations to an Inbox
Choose the reply mailbox and destination Inbox for website messages so customers hear from the right address and your team knows where to respond.
What you'll achieve
Every new widget conversation reaches the work queue your team monitors and replies use the customer-facing email address you chose.
Understand the two choices
A mailbox and an Inbox serve different purposes in DobroDesk. The mailbox is the email address used when your team sends a customer-facing reply, for example support@example.com. The Inbox is the internal work queue where teammates find and handle the conversation, for example General support, Orders or Billing.
DobroDesk saves both choices inside the widget settings. Customers do not see your internal Inbox name. They see the public support name in the widget and receive email notifications from the selected reply address when email delivery is needed.
A Channel answers where a message came from. An Inbox answers where your team handles it. A mailbox answers which email address represents your company in replies.
Choose the right destination
Decide which team owns questions from this website. Use a broad Inbox such as General support if one group handles everything. Use a focused Inbox such as Orders when the website or brand has a clear responsibility.
Choose the connected mailbox customers already recognize. The address should be monitored and appropriate for replies. Avoid a personal employee address because ownership may change.
If the mailbox already has the correct default Inbox, you can keep Use the mailbox default inbox. Select a different Support inbox only when widget messages need their own queue.
Tell the teammates responsible for that Inbox that website conversations will arrive there. Confirm they have access and assignment eligibility before launch.
Choose routing inside the widget
Open DobroDesk Admin, select Channels, open Website widgets and choose the widget from the list.
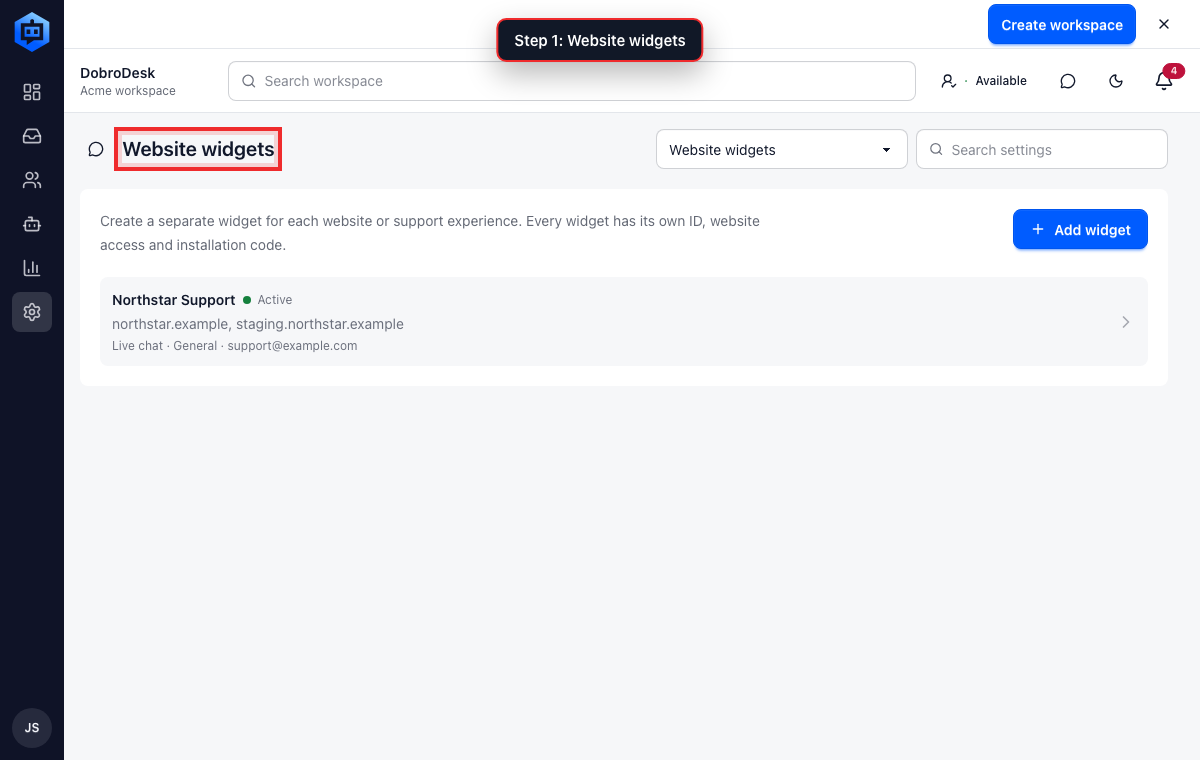
The red outline shows the control or area used in this step. Under Reply email choose the customer-facing email address.
Under Inbox choose the work queue or keep Mailbox default.
Select Save changes.
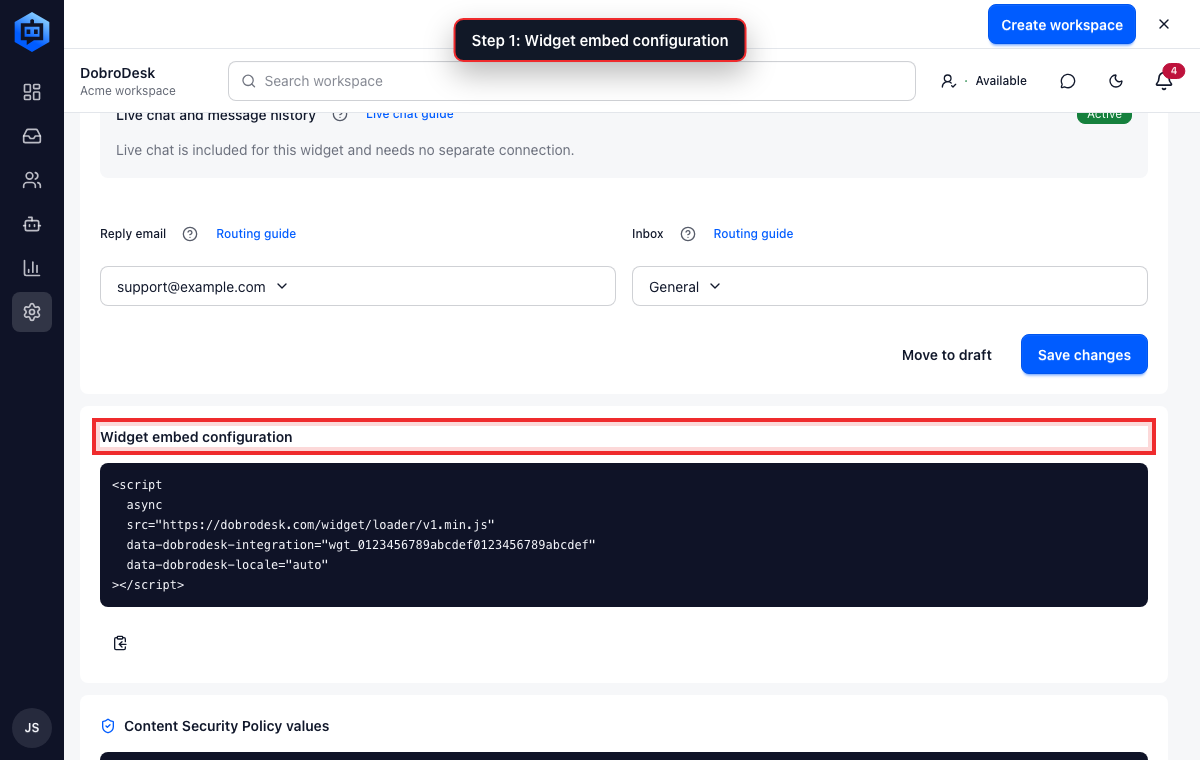
The red outline shows the control or area used in this step. Return to the widget list and confirm the expected Inbox and reply email appear under the widget.
The red outline shows the control or area used in this step.
Examples that make routing easier
- One company website and one support team: support@example.com to General support.
- A shop with a dedicated order team: orders@example.com to Orders.
- Two brands with different customer-facing names: create a separate widget for each brand instead of sharing one public identity.
- A temporary campaign site handled by the main team: keep the existing reply mailbox and route it to the current General support Inbox.
- Sensitive billing questions: route them to a restricted Billing Inbox only when the responsible team has access and the workflow has been reviewed.
Verify the route with a real message
Open the public website in a private browser window and send a message with a unique phrase such as Widget route test 10:30.
Open the selected Inbox in DobroDesk and find the new conversation. Clear teammate, status or channel filters if it is not immediately visible.
Reply from DobroDesk and confirm the customer sees the reply in the same widget. Check any email notification to verify the visible sender address.
If the message reaches the wrong Inbox, open that widget and check its Inbox setting. Do not create another widget while diagnosing the existing one.
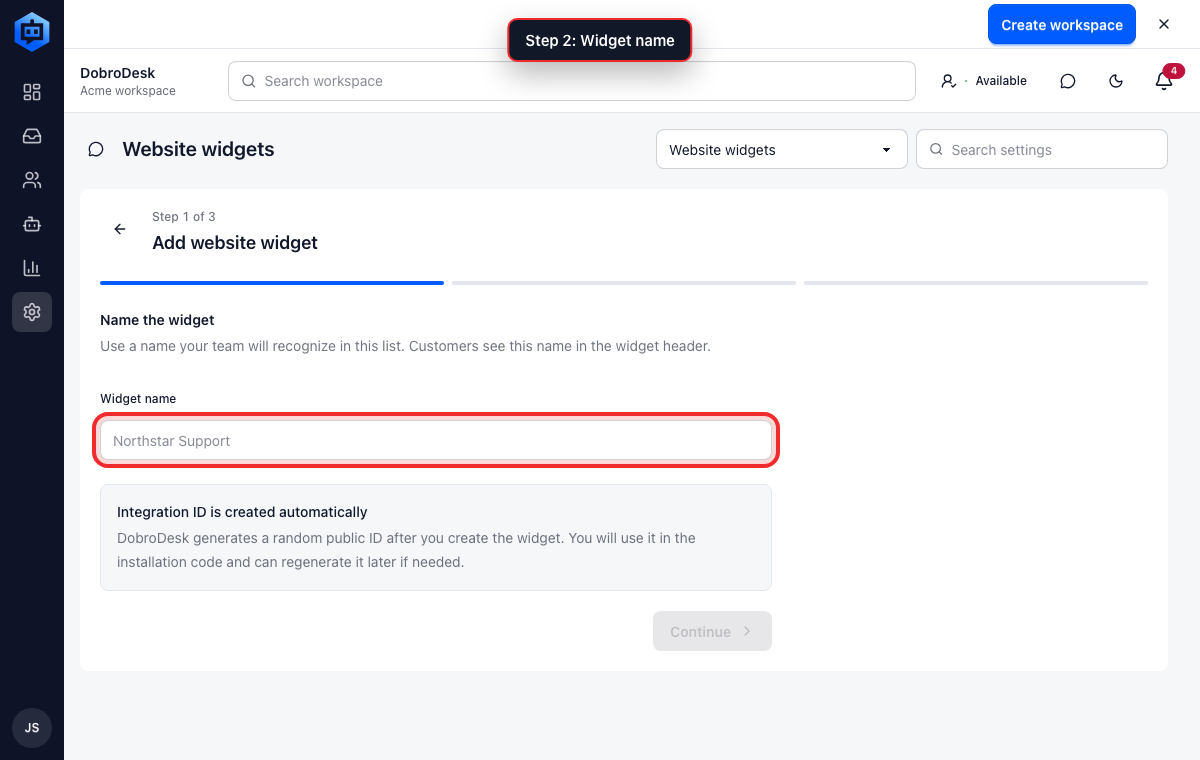
The red outline shows the control or area used in this step.